
How to Upload Photos
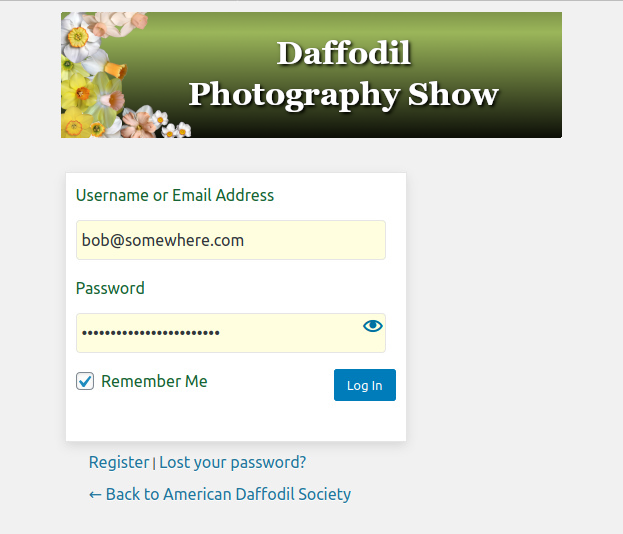
To upload your photos, you should be registered and logged on. To log on use this page: Photo Logon
This page will look like this:
After you logon you will see a “Dashboard” page that looks similar to this example. As a photographer you will start all your photo handling here. There are three things to do here, upload photos, add titles, and select “Photo Classes”. You may chose to upload single photos or several at one time, but each photo can go in only one “Photo Class” at a time.
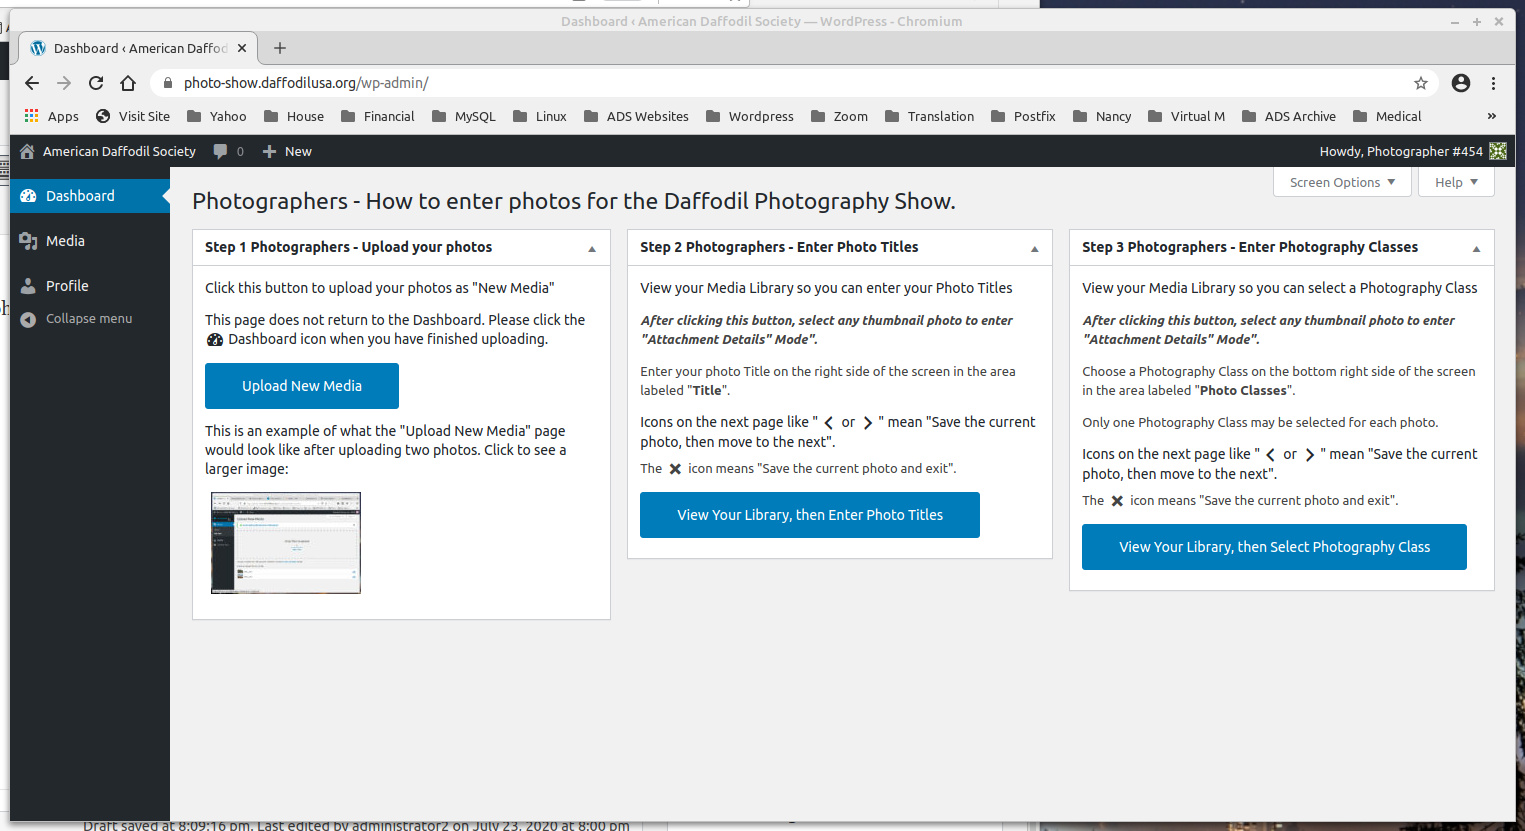
Later to return to the “Dashboard”, just click the dashboard icon to go back to photo handling.
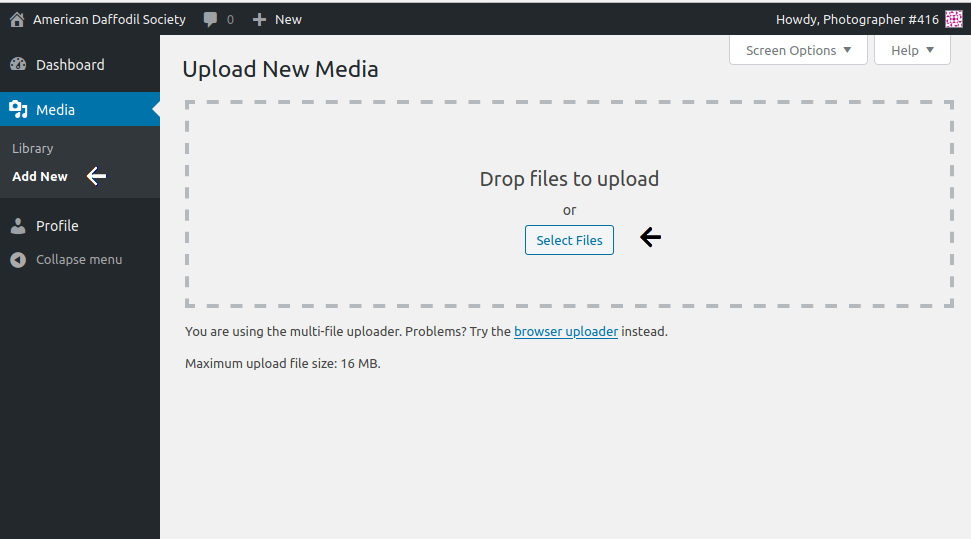
If you click the blue button “Step 1”, you will see a the “New Media” page which looks like this where you can “drag and drop” or “select” photos from your desktop or mobile device.
You can also upload photos using the “Media Library” view. Both views “New Media”, and “Media Library” use the same upload methods. The “Media Library” view also shows photos you previously uploaded.
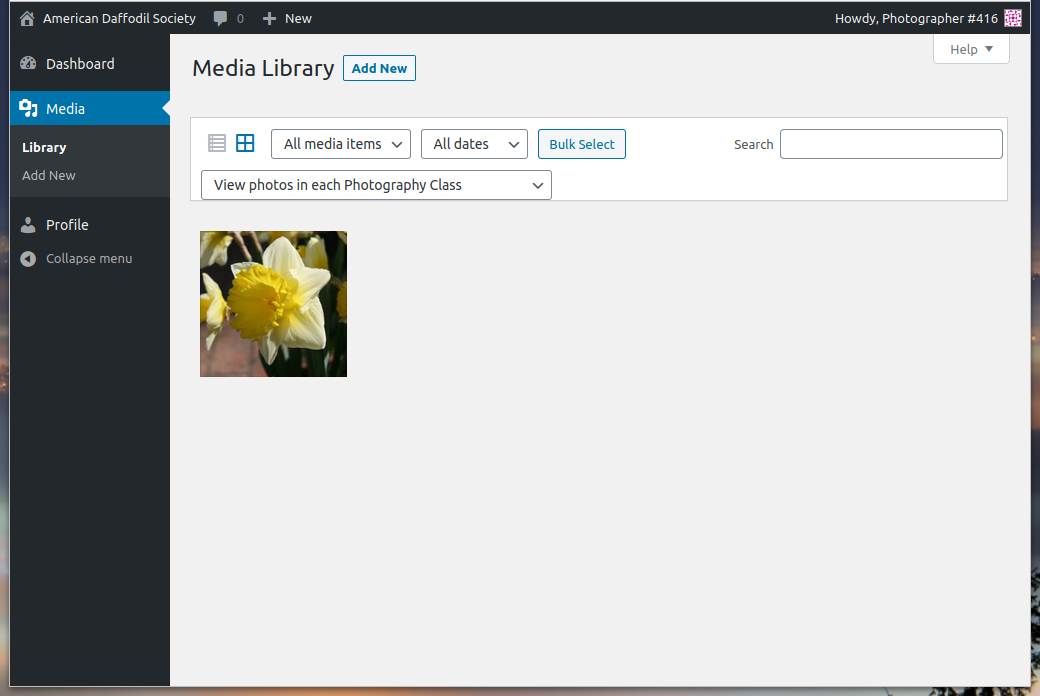
If you have uploaded photos to this site before, you will now see a page like this with thumbnail versions of your photos.

There are two ways to upload photos for the contest
Method 1:
If you are using a PC or device that allows “drag and drop”, you can simply find the photo(s) on your PC, select them, and while holding your left mouse button down, move your cursor to the “Media Library” and drop them on the media library when the screen turns “blue”.
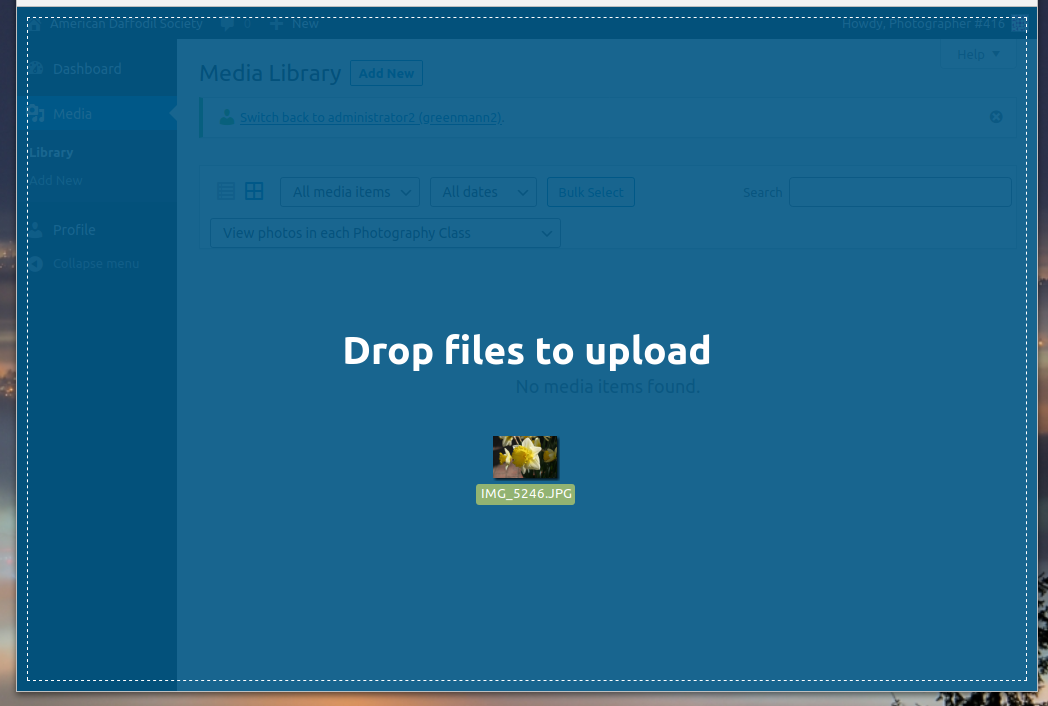
After you release your mouse button or “drop” the photo, you will see a screen like this:
Method 2:
If you do not want to use the drop and drag method, you may use the “Select Files” button on the “Upload New Media” screen as seen here:
This is the same method you would use if you upload photo(s) from your Phone or if you are using an iPad, or Mac computer.
If you have questions please use this contact form: Questions or Comments.